How to Make an Easy DIY Hummingbird Feeder for Your Flower Garden
Nothing brightens a flower garden quite like the flash of a hummingbird’s shimmering wings. These tiny birds zip from bloom to bloom with incredible speed, and once they discover a reliable food source, they often come back again and again. If you’ve always wanted to attract more hummingbirds, you don’t need an expensive feeder to do it.
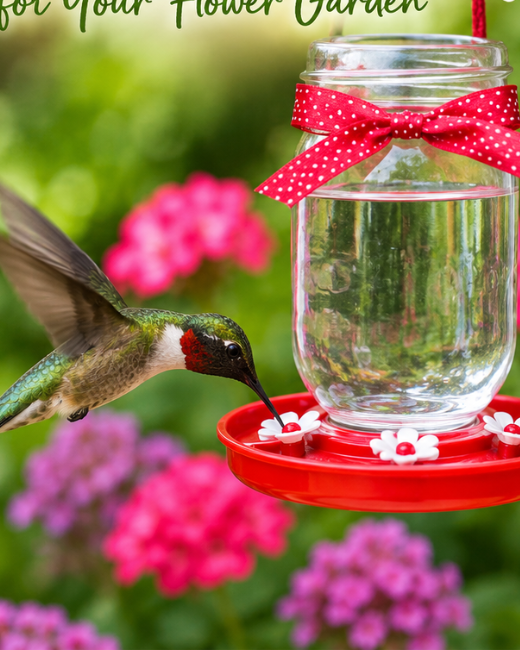
I made my first DIY hummingbird feeder with a recycled glass jar and a few basic supplies, mostly because I forgot to buy one from the store. To my surprise, it worked beautifully. Sometimes the simplest projects really are the best.
Ready to invite more hummingbirds into your garden? Here’s how to make an easy DIY hummingbird feeder that looks great, costs very little, and helps these amazing pollinators thrive.
Why Make Your Own Hummingbird Feeder?
Store-bought feeders work well, but making your own has a few advantages.
Benefits of a DIY hummingbird feeder include:
- Affordable and budget-friendly
- Easy to customize
- Eco-friendly by reusing materials
- Fun weekend DIY project
- Perfect for flower gardens, patios, and balconies
Plus, there’s something satisfying about watching hummingbirds enjoy something you built yourself.
Supplies You’ll Need
You probably already have most of these items at home.
Materials
- A small glass jar with a lid
- Plastic container lid or shallow dish
- Red ribbon or red decorative beads
- Small drill or nail
- Hot glue (optional)
- String or wire for hanging
For the Nectar
You’ll also need:
- 1 cup white granulated sugar
- 4 cups water
Never use honey, brown sugar, artificial sweeteners, or food coloring. Plain white sugar mixed with water closely mimics natural flower nectar and keeps hummingbirds healthier.
Step 1: Prepare the Nectar
This part couldn’t be easier.
Bring the water to a gentle boil, then stir in the sugar until it dissolves completely.
Let the mixture cool to room temperature before filling the feeder.
Nectar Recipe
- 1 part sugar
- 4 parts water
Store any extra nectar in the refrigerator for up to one week.
Step 2: Make the Feeding Holes
Take the metal lid from your glass jar.
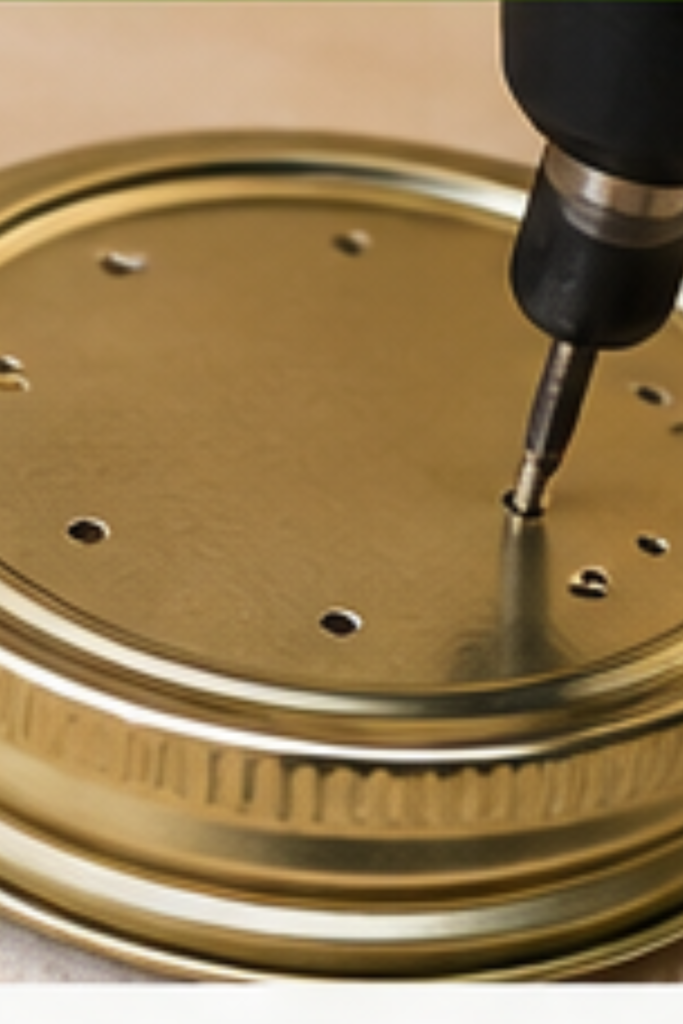
Use a small drill bit or carefully tap a nail through the lid to create 3–5 tiny feeding holes.
Keep the holes small enough that the nectar won’t pour out quickly.
Think “small sips,” not “mini waterfall.”
Step 3: Add a Splash of Red
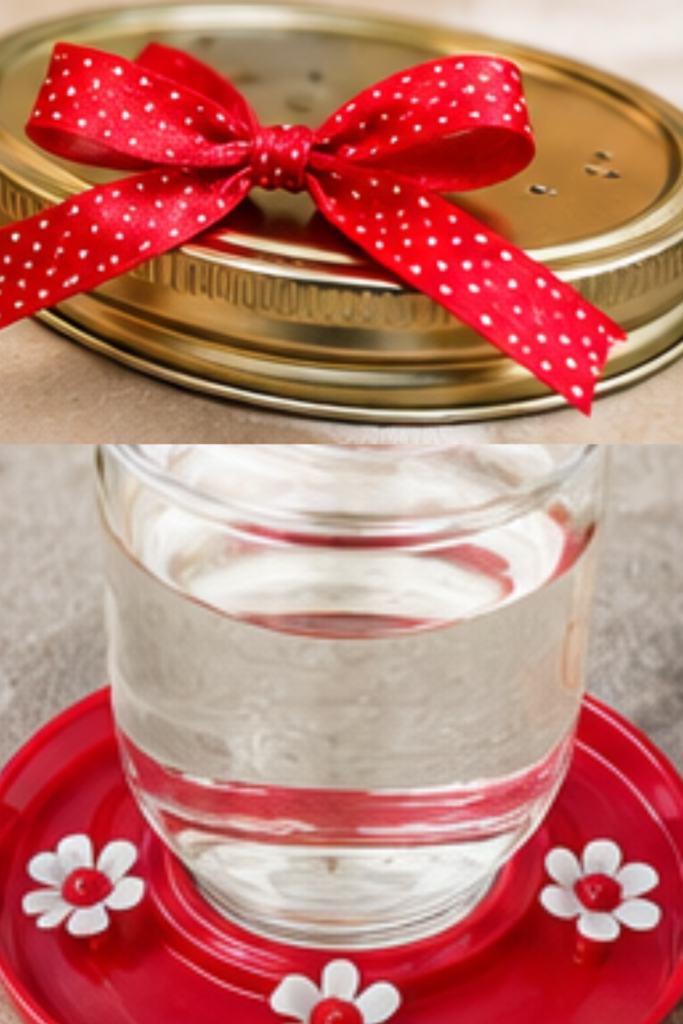
Hummingbirds naturally notice the color red because many nectar-rich flowers share that vibrant shade.
Instead of coloring the nectar, decorate the feeder itself.
Great decoration ideas include:
- Red ribbon
- Red waterproof paint
- Red beads
- Artificial red flowers
- Red twine
Skip red food coloring. Birds don’t need it, and the feeder decorations work just as well.
Step 4: Fill the Jar
Pour the cooled nectar into the glass jar.
Screw the lid on tightly.
Flip the jar upside down over a shallow plastic lid or saucer to catch small drips while creating an easy feeding area.
If your feeder leaks too much, check that the lid fits tightly and the holes aren’t too large.
Step 5: Hang Your Feeder
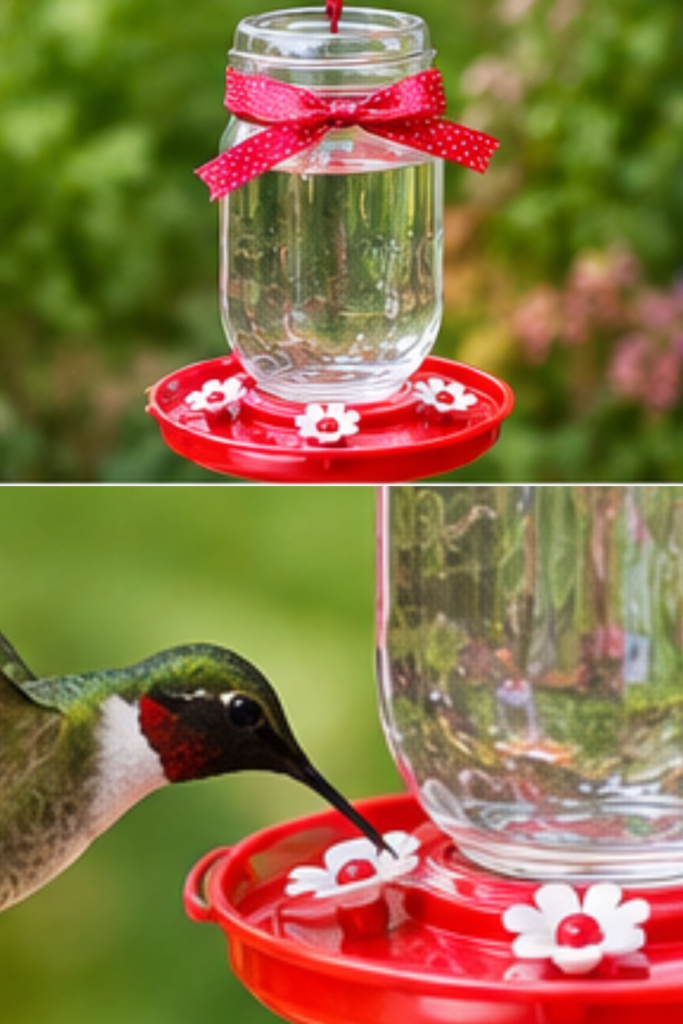
Choose a location where hummingbirds will feel comfortable.
The best spots offer:
- Partial shade
- Nearby flowering plants
- Shelter from strong wind
- Easy visibility
- Safe distance from cats
I like hanging mine near my bee balm and salvia because hummingbirds already visit those flowers. Why make them search any harder?
Best Flowers to Pair with Your Feeder
A feeder attracts hummingbirds, but flowers encourage them to stay.
Consider planting:
- Bee Balm
- Salvia
- Cardinal Flower
- Columbine
- Coral Honeysuckle
- Petunias
- Zinnias
- Trumpet Vine
- Fuchsia
- Lobelia
The combination of natural nectar and supplemental feeding creates a hummingbird-friendly garden they’ll love.
Keep Your Feeder Clean
This step matters more than many people realize.
Warm weather causes nectar to spoil quickly, and mold can make hummingbirds sick.
Cleaning Schedule
- Every 2 days during hot weather
- Every 3–5 days in cooler temperatures
- Immediately if the nectar appears cloudy
Wash the feeder with hot water and a bottle brush.
Avoid using soap whenever possible because residue can remain inside.
Common DIY Hummingbird Feeder Mistakes
Everyone makes mistakes the first time around. I certainly did.
Using Honey
Honey encourages harmful fungal growth.
Always use plain white sugar instead.
Adding Food Coloring
Many people think hummingbirds need red nectar.
They don’t.
Decorate the feeder with red accents instead.
Hanging It in Direct Afternoon Sun
Strong sunlight heats the nectar and causes it to spoil faster.
Morning sun with afternoon shade works much better.
Forgetting to Clean It
Dirty feeders attract mold, ants, and unwanted insects.
Fresh nectar keeps hummingbirds healthy and coming back.
Extra Tips to Attract More Hummingbirds
Want even more visitors?
Try these simple ideas:
- Plant flowers that bloom throughout the season.
- Avoid using pesticides.
- Add a shallow water feature or mister.
- Place several feeders around your yard.
- Leave small trees or shrubs nearby for resting.
Ever noticed how hummingbirds seem fearless? They may look tiny, but they’re surprisingly territorial and often chase each other away from favorite feeding spots.
Why DIY Feeders Work So Well
A homemade feeder provides exactly what hummingbirds need: a reliable source of fresh nectar.
You don’t need fancy designs or expensive accessories.
As long as you provide clean nectar, a safe feeding area, and regular maintenance, hummingbirds usually don’t care whether the feeder cost $5 or $50.
Honestly, they have much better things to judge than your crafting skills. 🙂